The MySQL database server is one of the most popular open-source database servers commonly used in web application development.This document provides Step-by-Step guide for Installing MySQL on Windows. It covers the configuration details also with screen shot
Starting the Download
1.Go to http://dev.mysql.com/downloads/installer/.
2.Click the Download button.
3. Scroll down to the MySQL database server & standard clients section and Select the latest production release
3.Save the installer file to your system.
Starting the Installation
After the download completes, run the installer as follows:
1.Right-click the downloaded installation file (for example, mysql-5.1.67-winx64.msi) and click Run.
The MySQL Installer starts.
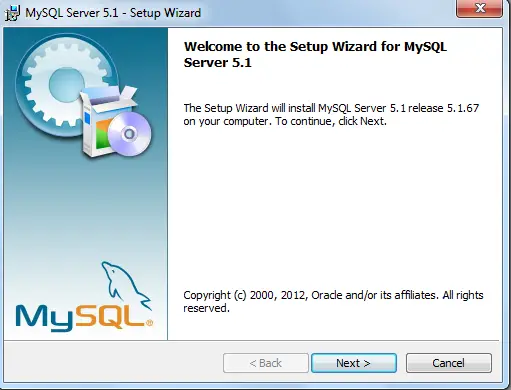
2.On the Welcome panel, select Next to proceed

3.On the License Information panel, review the license agreement, click the acceptance checkbox, and click Next.
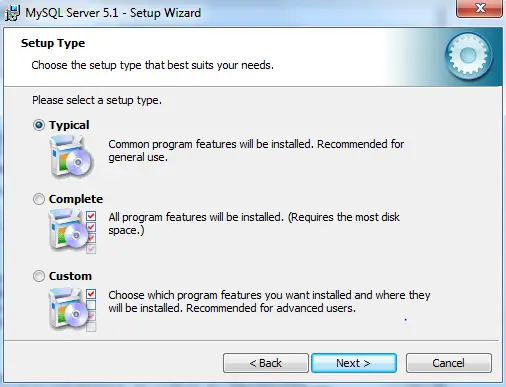
4.On the Setup Type panel, choose the Typical option and click Next.
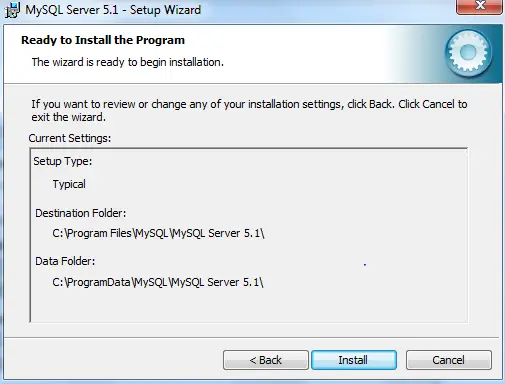
5.On the Ready for install window, click Install
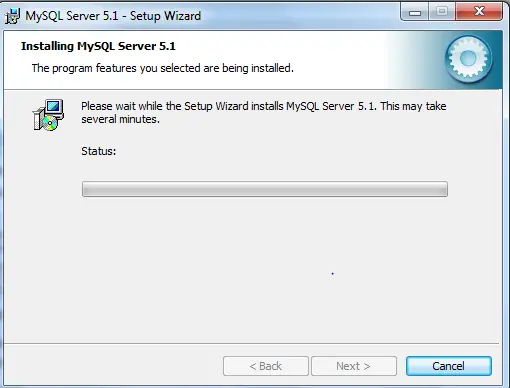
6) The installation will start.
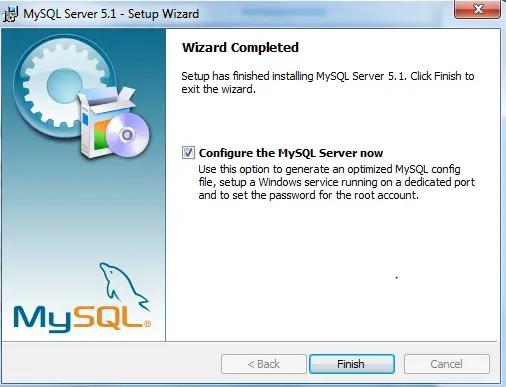
7) When the server installation is completed successfully, the information message appears on the Installation panel. Make sure Configure the mysql server now checkbox is checked and then click finish
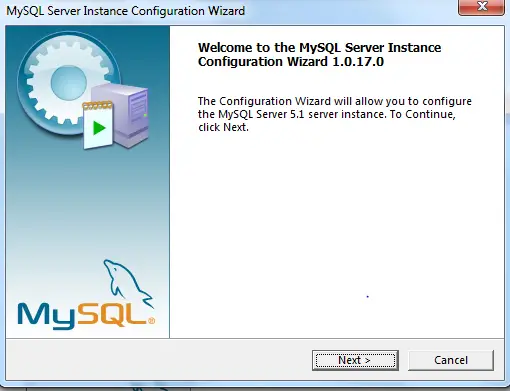
8.On the Configuration panel, click Next.
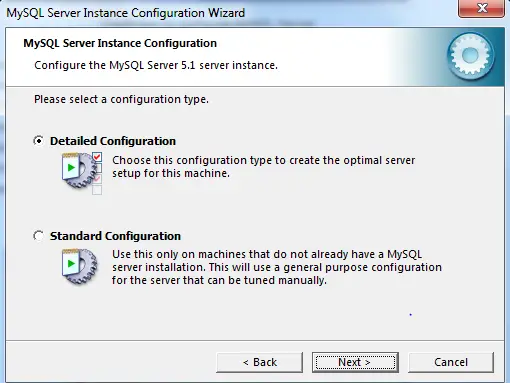
9) At the MYsql server instance configuration page,choose Detailed Configuration
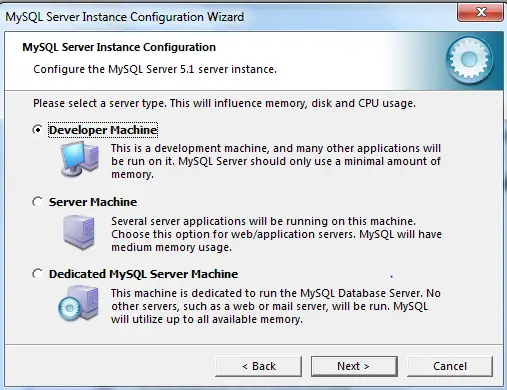
10.. Select the Development Machine option.
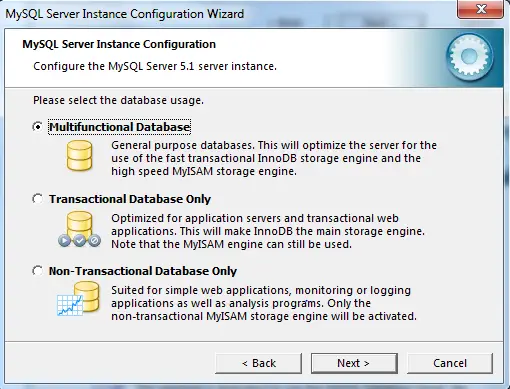
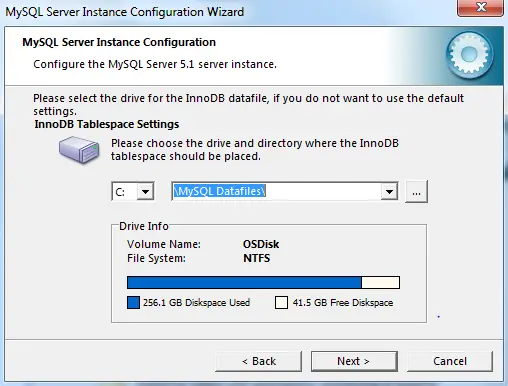
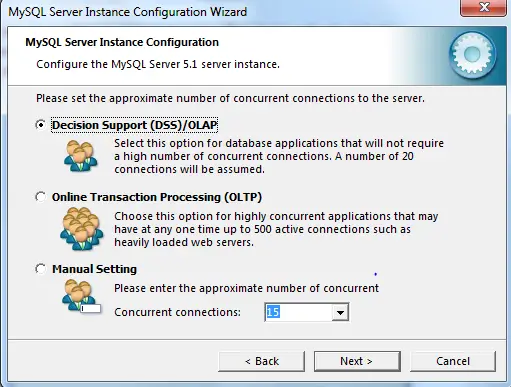
11) Choose Multifunctional ,location of datafiles and Decison Support on the next three screen
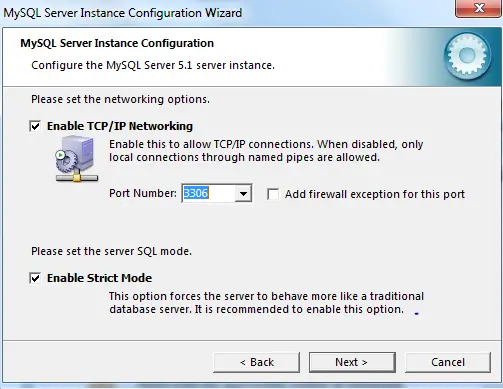
12) Enable TCP/IP Networking. Ensure the checkbox is selected and specify the Port Number. The default setting is 3306 – leave it unchanged if there is not special reason to change it.Open Firewall port for network access. Select to add firewall exception for the specified port.Click Next.
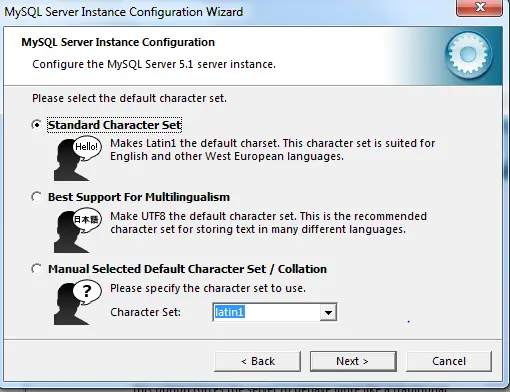
13) Choose the standard character set
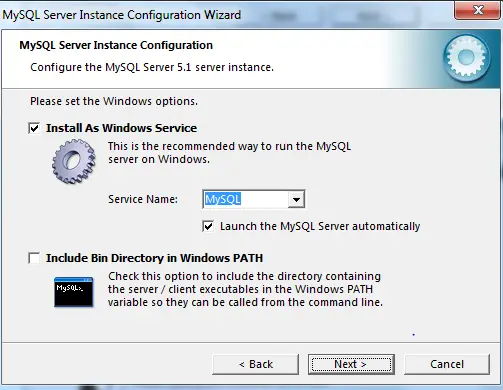
14) Check the Install as Windows Service
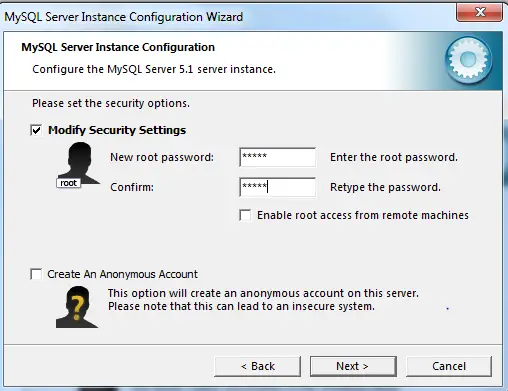
15) set the following options: -Root Account Password.
Note: The root user is a user who has full access to the MySQL database server – creating, updating, and removing users, and so on. Remember the root password – you will need it later when creating a sample database.
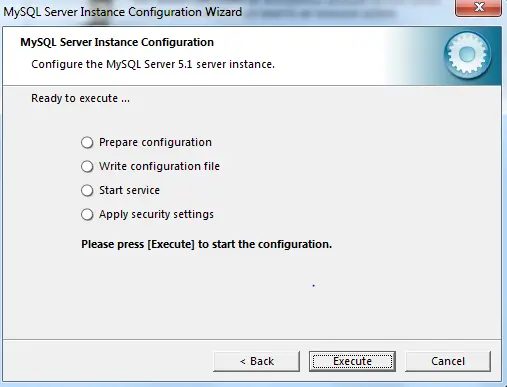
16) Click Execute to start the configuration
When the configuration is completed successfully, the information message appears on the Complete panel. Click Finish. To check that the installation has completed successfully, run the Task Manager. If the MySQLd-nt.exe is on the Processes list – the database server is running.
Now the Database is ready , we can connect to it with mysql command line client with the password you have set for root
Now, you are connected to the MySQL server and you can execute all the SQL command at mysql> prompt as follows:
mysql> SHOW DATABASES;
+———-+
| Database |
+———-+
| mysql |
| test |
+———-+
2 rows in set (0.13 sec)
Hope you like the article on Step-by-Step guide for Installing MySQL on Windows .Please do provide the feedback