Here in this post, I will be giving steps on how to enable SSL in Oracle Weblogic which is installed on server “techserv01”
(1) First we need to create the Keystore and create a certificate request
cd <JDK TOP>/bin
keytool -genkeypair -keyalg RSA -alias techserv01_key -keysize 2048 -keystore E:\Oracle\WEB\WEBStore.jks -storepass jkstechserv01 -keypass jkstechserv01
keytool -certreq -alias techserv01_key -Keypass jkstechserv01 -keystore D:\Oracle\WEB\WEBStore.jks -storepass jkstechserv01 -file D:\Oracle\WEB\techserv01.csr
Here techserv01_key is the private key alias
(2) Now we can take the certificate request and get it signed by Certificate Provider. Once we receive the certificate, we can move ahead with the next steps
(3) Added the Certificate in the Keystore
Add intermediate Certificate
keytool -importcert -alias CAInter -file D:\Oracle\WEB\interCA.cer -keystore D:\Oracle\WEB\WEBStore.jks -storepass jkstechserv01
Add root Certificate
keytool -importcert -alias techserv01_key -file D:\Oracle\WEB\rootCA.cer -keystore D:\Oracle\WEB\WEBStore.jks -storepass jkstechserv01
Add Server Certificate
keytool -importcert -alias techserv01_key -file D:\Oracle\WEB\techserv01.p7b -keystore D:\Oracle\WEB\WEBStore.jks -storepass jkstechserv01 -keypass keytechserv01
(4) Creating a custom trust store
keytool -import -file D:\Oracle\WEB\interCA.cer -alias CAInter -keystore D:\Oracle\WEB\myTrust.jks -storepass Oracle123
keytool -import -file D:\Oracle\WEB\rootCA.cer -alias root -keystore D:\Oracle\WEB\myTrust.jks -storepass Oracle123
(5) Verification
keytool -list -v -keystore D:\Oracle\WEB\WEBStore.jks -storepass jkstechserv01

java utils.ValidateCertChain -jks techserv01_key  D:\Oracle\WEB\WEBStore.jks
(6) Once Keystore is prepared, we can move to the Oracle WebLogic console to start the configuring SSL in WebLogic
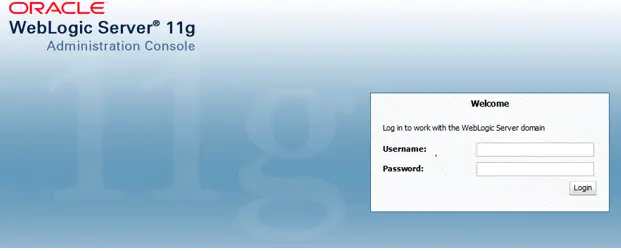
(a) Login to WebLogic Console
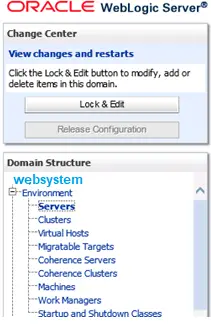
(b) Click Lock and edit
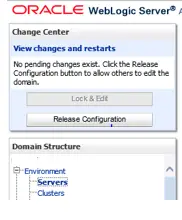
The following screen will appear
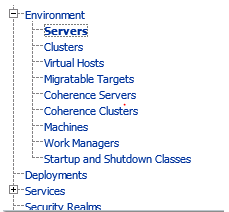
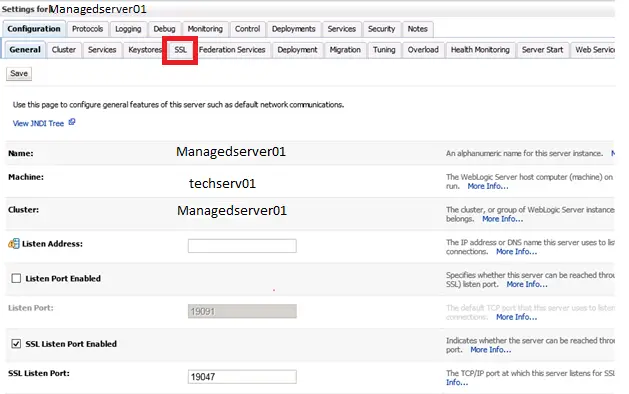
(c) Click on Server to manage the properties of Manage server
(d) Select the server to be enabled for SSL and then click on the SSL tab. Now Disable the HTTP port and Enable the HTTPS port. Then click Save
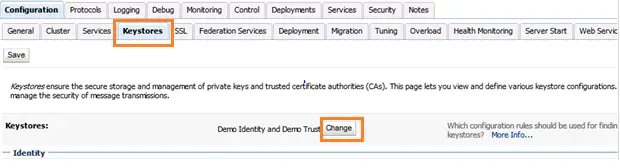
(e) Now go to the Keystore tab and click on change
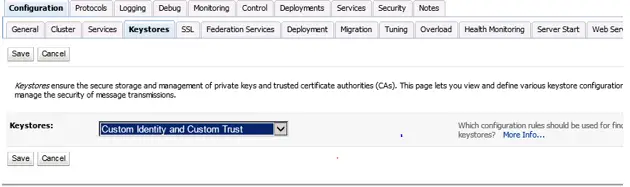
(f) Select Custom Identity and custom trust and then save
(g) Now below screen will appear
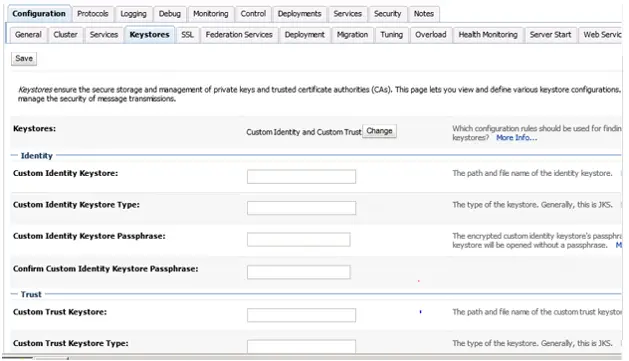
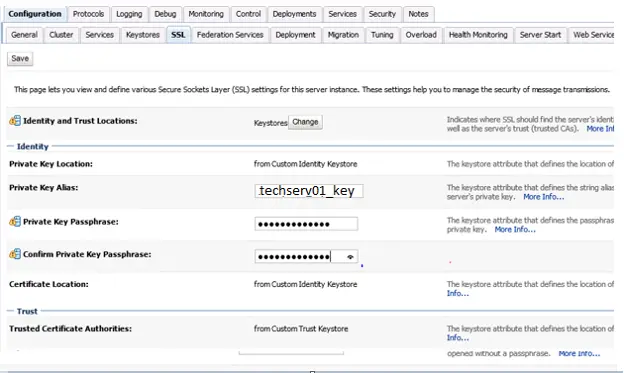
(h) Now fill in the details and click Save
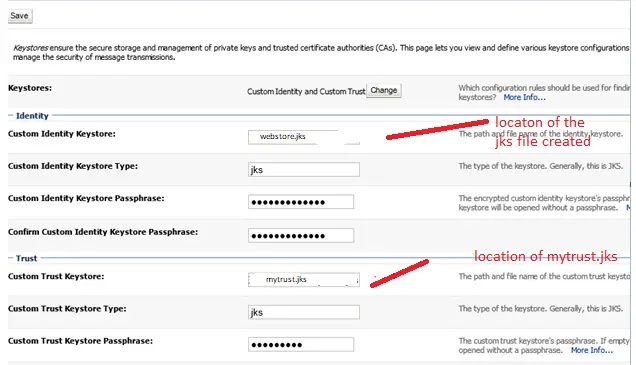
(h) Now following details need to be filled
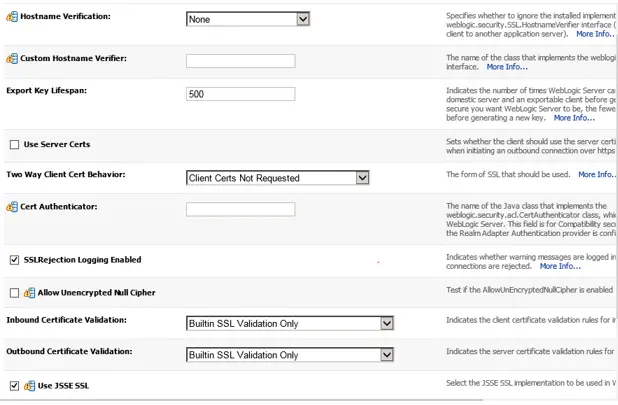
(i) Click on Advanced at the Bottom.
If you are using the SHA256 certificate, Click on JSSE SSL and Set hostname verification to None
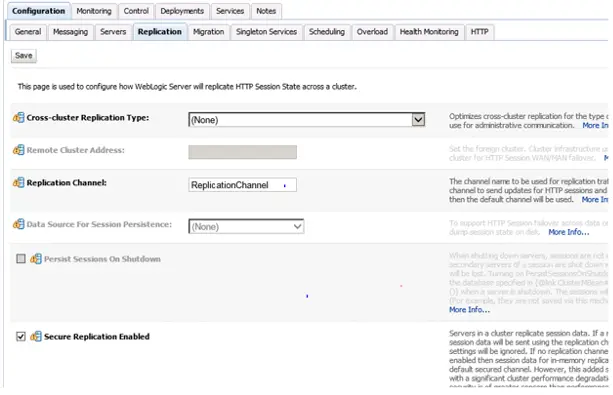
(j) Now click save at the bottom and then click on the Replication tab and click on secure replication method
(k) Do final save. Now to finalize the server configuration by clicking release configuration. This completes the step for enabling SSL in Oracle Weblogic
(7) And now you can restart the Managed server and check the SSL
Related Articles
SSL in EBS R12 : Learn about setting up SSL in EBS 12.0 or 12.0 version, what all settings need to configured and how to verify the setup
TLS in EBS R12.2 : Check out How to enable TLS in EBS 12.2, how to do the various settings, and how to verify the setup
keytool command: Check out the most useful keytool command to use in Unix and Windows, How to generate the Public/Private key pair, and How to change the key password